
Decorative Paints

Decorative Paints
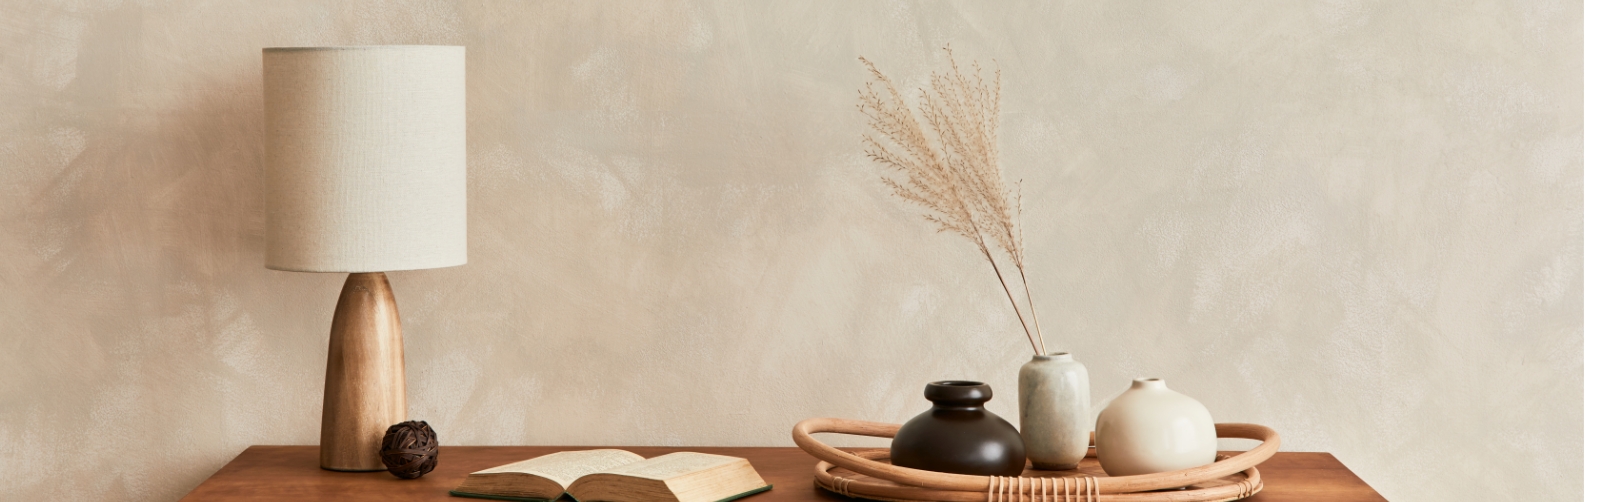
In the realm of interior design, few materials evoke the sense of luxury and sophistication quite like Venetian Plaster. Originating from ancient Rome and perfected during the Renaissance in Venice, Italy, Venetian Plaster continues to captivate homeowners and designers alike with its timeless charm and unmatched beauty. Let’s delve into what Venetian Plaster is, how it can be used, and the art of applying it to transform your space into a masterpiece.
What is Venetian Plaster?
At its essence, Venetian Plaster is a decorative wall finish that embodies the richness and depth of polished marble. Unlike traditional paint or wallpaper, Venetian Plaster is composed of natural materials such as slaked lime, marble dust, and natural pigments. When applied in thin, multiple layers and burnished to a smooth finish, it creates a surface that resembles polished stone, with subtle variations in color and texture adding depth and visual interest.

Usage of Venetian Plaster
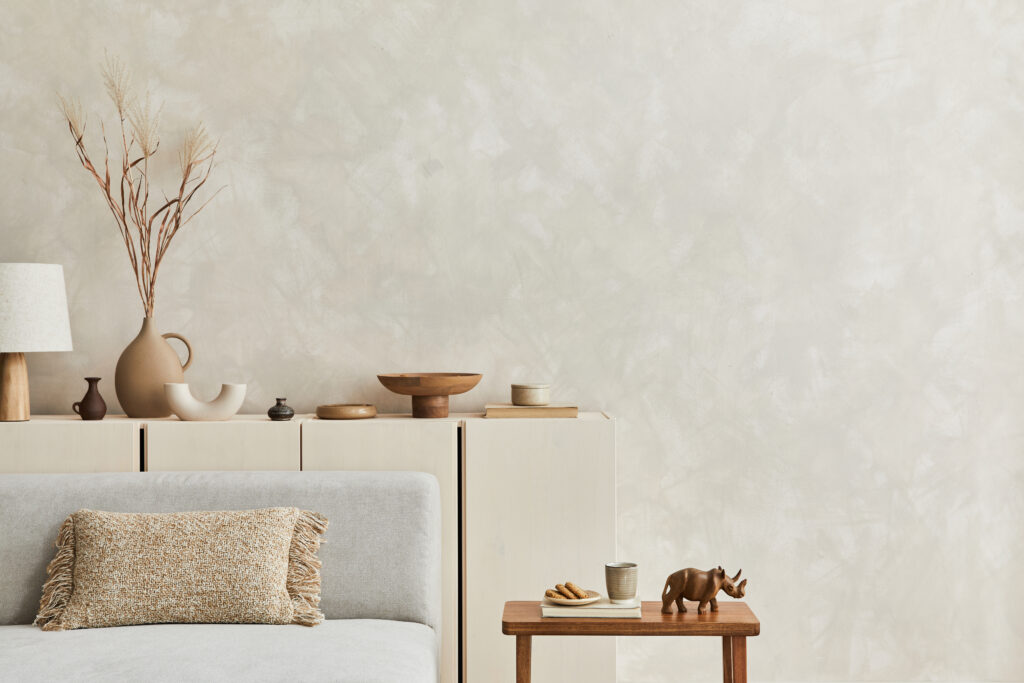
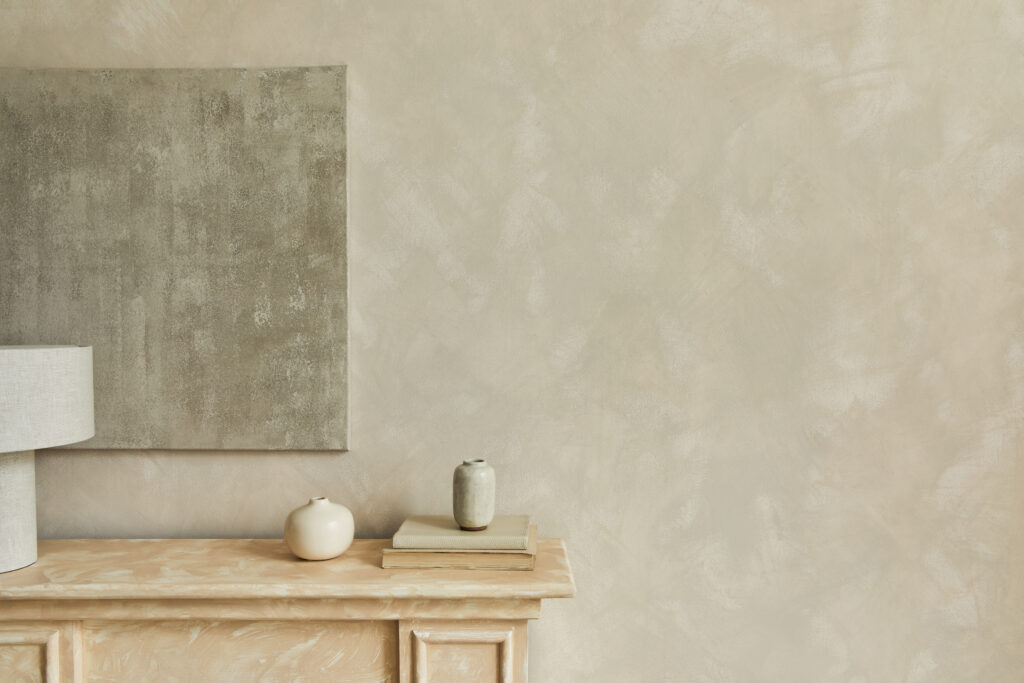
Venetian Plaster is incredibly versatile and can be used to enhance virtually any interior space. From grand entryways to cozy living rooms, Venetian Plaster adds a touch of sophistication and elegance to any room. It’s particularly well-suited for accent walls, feature panels, or entire rooms where you want to make a statement. Whether you’re aiming for a classic, Old-World aesthetic or a more contemporary look, Venetian Plaster can be tailored to suit your style and design preferences.
How to Apply Venetian Plaster
While the application of Venetian Plaster requires skill and precision, it is not beyond the reach of the average DIY enthusiast. Here’s a general overview of the process:
1. Surface Preparation: Ensure that the surface to be plastered is clean, dry, and free of any dust or debris. Repair any cracks or imperfections, and apply a suitable primer if necessary.
2. Base Coat Application: Apply a base coat of Venetian Plaster using a stainless steel trowel, working in small sections at a time. Spread the plaster evenly in thin, overlapping strokes, being careful not to leave any trowel marks.
3. Layering: Once the base coat has dried, apply additional layers of Venetian Plaster as desired, using the same technique. Each layer should be allowed to dry completely before applying the next.
4. Burnishing: Once the final layer has dried, use a clean, damp sponge or a specialized burnishing tool to gently polish the surface to a smooth, glossy finish. Take care not to apply too much pressure, as this can cause the plaster to become too smooth and lose its texture.
5. Sealing: To protect the finish and enhance its durability, consider applying a suitable sealer or wax once the plaster has fully cured.
Whether you’re looking to add a touch of luxury to your home or create a striking focal point in a commercial space, Venetian Plaster offers a timeless solution that never goes out of style. With its versatility, durability, and unparalleled aesthetic appeal, Venetian Plaster is sure to elevate any interior to new heights of elegance and sophistication.
Ready to explore the possibilities of Venetian Plaster for your next project? Contact us today to learn more about our range of Venetian Plaster finishes and how we can help bring your vision to life.
SHARE:


